A No-nonsense Guide to Repairing Drywall Holes Without the Diy Hype
I was hunched over my latest terrarium, “Rachel Carson,” meticulously adjusting a layer of moss, when I heard that dreaded thud from the hallway—a rogue moving box had finally met its match against my living room wall. It’s a moment of pure, localized chaos that makes you feel like your entire sanctuary is crumbling. Most people think that learning how to repair a dry wall hole requires a professional contractor or a mountain of expensive, specialized machinery, but that’s a total myth. In reality, fixing a blemish on your wall is a lot like tending to a small patch of disturbed soil in a garden; it’s all about patience and the right touch to ensure the surface heals seamlessly.
I’m not here to sell you on complicated industrial methods or overwhelming DIY jargon. Instead, I’m going to walk you through a streamlined, honest approach to restoring the integrity of your indoor ecosystem using simple tools you likely already have. We’ll cover everything from selecting the right filler to the subtle art of sanding, ensuring your walls look completely whole again without the stress. Let’s get to work and mend these little scars in your home.
Guide Overview
Tools & Supplies
- Putty knife (for applying compound)
- Sanding sponge (medium/fine grit for smoothing)
- Utility knife (for trimming loose edges)
- Spackling compound (small tub)
- Drywall patch kit (adhesive mesh patch)
- Sandpaper (fine grit)
Step-by-Step Instructions
- 1. Before we dive into the healing process, we need to prepare the site. Just like clearing debris before planting a new sapling in a terrarium, you’ll want to use a utility knife to carefully trim away any frayed or loose edges of the drywall. If the edges are jagged, they won’t bond well with the new material, so aim for a clean, slightly recessed perimeter that allows the patch to sit flush.
- 2. Once the area is cleared, it’s time to stabilize the foundation. For larger holes, I always recommend installing a small piece of drywall mesh tape over the gap. Think of this as the structural root system of your repair; it provides the necessary tension and support so that your patch doesn’t simply crack and fall away as the building naturally settles.
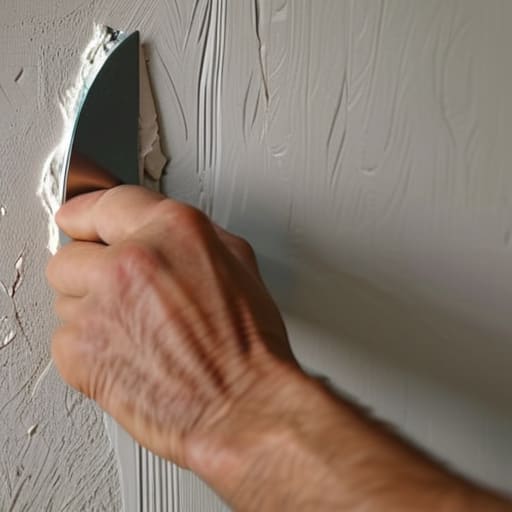
- 3. Now, grab your joint compound and a putty knife to begin the first layer of “reforestation.” Apply the compound over the mesh tape using light, sweeping motions, spreading it slightly beyond the edges of the hole. You aren’t trying to build a mountain here—you’re aiming for a thin, even layer that bridges the gap between the old surface and the new.
- 4. This is where patience becomes your greatest tool. After the first layer has dried completely—which can take anywhere from a few hours to a full day depending on your home’s humidity—you’ll likely notice some slight shrinkage or unevenness. This is perfectly natural, much like how a new ecosystem takes time to find its equilibrium, so we simply apply a second, wider coat to smooth out the topography.
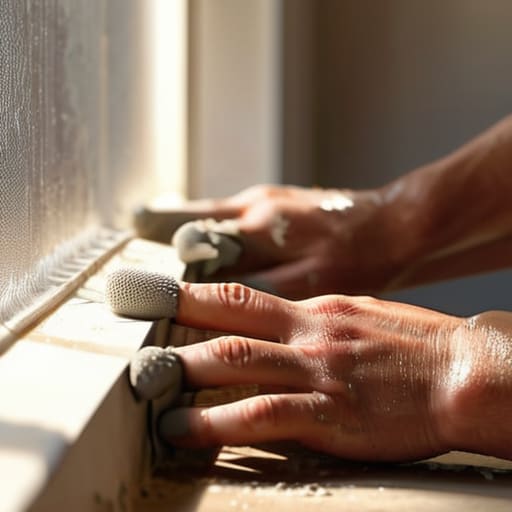
- 5. Once your second layer is bone-dry, we move into the delicate phase of refining the texture. Using a fine-grit sanding sponge, gently buff the area in circular motions. Your goal is to make the transition between the patch and the original wall virtually imperceptible to the touch. It’s a meditative process, really, much like the fine-tuning I do when balancing the moisture levels in my latest terrarium, “Rachel.
- 6. Before we can bring this “landscape” back to life with color, we must seal the surface. Apply a coat of high-quality primer over the repaired area. Skipping this step is like trying to plant seeds on bare, dry rock; the primer acts as the nutrient-rich soil that allows your paint to adhere properly and ensures the color looks uniform rather than patchy.
- 7. Finally, it’s time for the finishing touch: painting. Using a roller or brush, apply your wall color, blending it outward from the center of the repair into the surrounding area. If you feather your strokes, you’ll achieve a seamless finish that honors the original integrity of your home, leaving the scar behind and allowing the room to breathe as a whole again.
Healing the Surface Essential Tools for Wall Repair
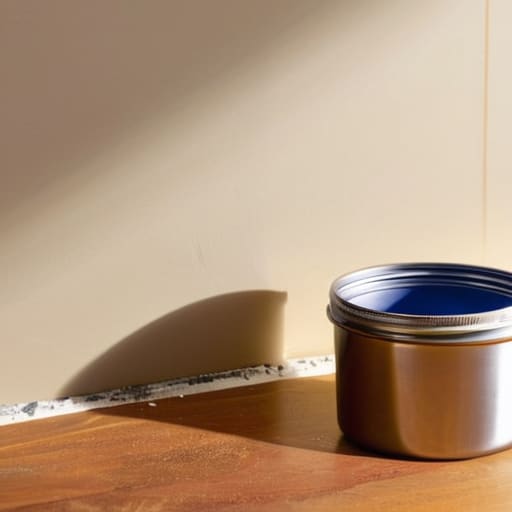
Before we dive into the actual labor, let’s gather our supplies. I like to think of this phase as preparing the soil before planting a new seedling; you wouldn’t want to start a garden with subpar tools, right? If you’re dealing with a tiny puncture from a stray nail, a simple drywall patch kit for small holes is your best friend—it’s compact, efficient, and keeps the mess to a minimum. However, if you’re facing something more substantial, you’ll want to gather a sturdy putty knife, a sponge, and perhaps some fine-grit sandpaper.
One nuance I often encounter in my urban planning work is the difference in material resilience. It’s worth noting that fixing holes in plaster vs drywall requires slightly different levels of finesse; plaster is much more temperamental and prone to cracking if you aren’t gentle. Regardless of the surface, the secret to a professional finish lies in your patience. Don’t rush the drying process, and remember that learning how to use joint compound effectively is all about thin, even layers rather than trying to fill the void all at once.
Restoring Integrity Drywall Mesh Tape Application and Joint Compound
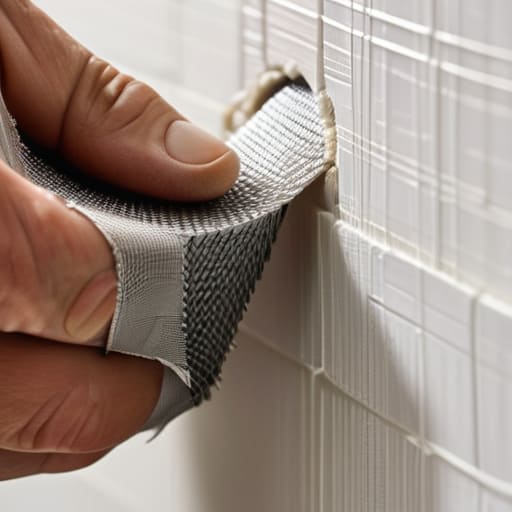
Think of this stage as the structural reinforcement of a tiny ecosystem. Just as I wouldn’t plant a delicate fern in unstable soil, you can’t expect a patch to hold if the foundation is weak. When performing your drywall mesh tape application, you aren’t just covering a gap; you are creating a bridge that distributes tension across the surface. If you’re working with a larger void, that mesh acts like the root system of a plant, knitting the old material to the new. If you happen to be fixing holes in plaster vs drywall, remember that plaster is much more temperamental and brittle—it requires a gentler, more patient touch to avoid cracking the surrounding area.
Once your mesh is secure, it’s time to learn how to use joint compound with intention. Don’t try to win the race by applying one thick, heavy layer; that’s a recipe for cracks later on. Instead, think of it like layering sediment in one of my terrariums—thin, deliberate, and purposeful. Apply the compound in translucent sweeps, feathering the edges out so the transition becomes nearly invisible to the eye. We want to build up the landscape gradually, ensuring the structural integrity of your wall is restored before we even think about the final finish.
Cultivating a Flawless Finish: Pro-Tips for a Resilient Repair
- Patience is your greatest tool; just as I wouldn’t rush the delicate layering of moss in my “Rachel Carson” terrarium, you shouldn’t rush the drying process. Applying multiple thin layers of compound is far superior to one thick, gloopy application that will inevitably crack as it settles.
- Think of sanding as a gentle exfoliation for your walls. Avoid the urge to go aggressive with the sandpaper; instead, use a fine-grit sponge to lightly smooth the edges until the patch feels as seamless to your fingertips as a river stone.
- Always clean the “wound” before you begin. Use a vacuum or a slightly damp cloth to clear away every speck of dust and loose debris from the hole; if the foundation isn’t clean, your new patch won’t truly bond with the existing structure.
- Master the art of the “feathered edge.” When applying your compound, spread it slightly wider than the hole itself, tapering the edges thinner and thinner until they vanish into the surrounding wall. This mimics the way natural gradients blend in a landscape, preventing a visible bump.
- Don’t forget the final layer of protection. Once your repair is sanded and dust-free, a quick coat of primer is essential. It acts like a nutrient-rich soil, ensuring your new paint adheres perfectly and doesn’t leave a dull, mismatched patch behind.
Completing the Restoration
As we wrap up this process, remember that repairing a drywall hole is much more than just a chore; it is an act of restoring the structural integrity of your personal sanctuary. By carefully selecting your tools, applying the mesh tape with precision, and layering your joint compound with patience, you have successfully bridged the gap between a damaged surface and a seamless finish. It’s easy to get frustrated when the sanding feels endless or the texture isn’t quite right, but much like tending to my latest terrarium, “Gaia,” which I just graduated into its permanent glass home, these small, meticulous steps are what ultimately lead to a stable and thriving environment.
Beyond the dust and the compound, I hope you see this task as a metaphor for how we approach the world around us. Whether we are mending a small fracture in our walls or tackling the massive, complex challenges of urban climate resilience, the principle remains the same: we must address the wounds with intentionality and care to ensure a lasting recovery. Every small repair you make in your home is a testament to your role as a steward of your own space. So, take a moment to admire your handiwork, step back, and celebrate the fact that you have once again harmonized your surroundings to create something whole, beautiful, and resilient.
As you move into the finer stages of smoothing and sanding, remember that patience is just as vital as the tools in your kit; much like waiting for a new moss layer to settle in my ‘Rachel Carson’ terrarium, you can’t rush the drying process without risking the structural integrity of your work. If you ever find yourself feeling a bit overwhelmed by the sheer scale of home maintenance or just want to connect with others who find deep satisfaction in the art of restoration and mindful living, I highly recommend checking out this community. Surrounding yourself with people who value the beauty of preservation can turn a mundane weekend chore into a truly meditative act of stewardship for your home.

Leave a Reply
You must be logged in to post a comment.